

Why ChatGPT gets transparency wrong
You know the scenario: you ask ChatGPT for an image "with a transparent background," download the file, open it in Canva… and underneath there's white. Or grey, or that checkerboard that looks like transparency but isn't.
The reason is technical: transparency is an alpha channel, extra data inside the file. OpenAI's image model today doesn't reliably expose it from generation alone, so it "draws" a fake transparent background instead of creating a real one.
The checkerboard isn't transparency. It's a texture that imitates transparency. A truly transparent PNG has a real alpha channel, and you can only see it by placing it over a colored background.
The right method: generate, then cut out
The trick is to stop expecting a single generation to do everything. You need to separate two different jobs: creating the image and the technical post-production. ChatGPT can do both, just not in the same step.
- 1 Generate the subject centered, without worrying too much about the background.
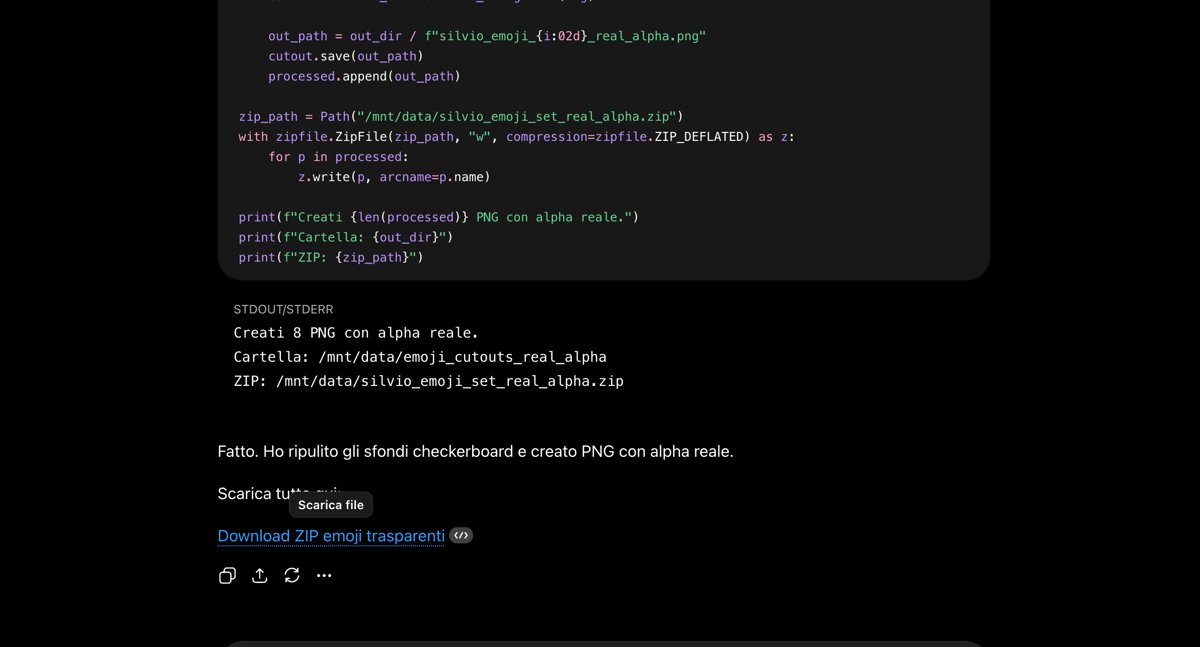
- 2 Ask it to remove the background with Advanced Data Analysis (Python): that's where the real alpha channel is born.
Python works on the file's pixels, it doesn't "imagine" transparency: it actually writes it. That's the difference between a PNG that works and one that drags a white background along with it.
The prompt for a transparent PNG
This prompt puts the technical requirements inside the request and already includes the Python fallback. Copy it, swap in your subject between the brackets, and paste it into ChatGPT.
Generate [DESCRIBE THE SUBJECT: e.g. a coffee cup icon] for me.

Technical requirements for the final file:
- PNG with a REAL alpha channel (true transparency, not simulated)
- No white, grey, colored, or checkerboard background
- No halo or border around the subject
- Just the subject, centered, minimal margins

If the direct generation doesn't produce real transparency, use
Advanced Data Analysis (Python) to remove the background and
save me a PNG with an actual alpha channel.
The line about the Python fallback is the one doing the real work: if the direct generation still gives you a background, ChatGPT switches on its own to removal with an alpha channel.
Your personal emoji, step by step
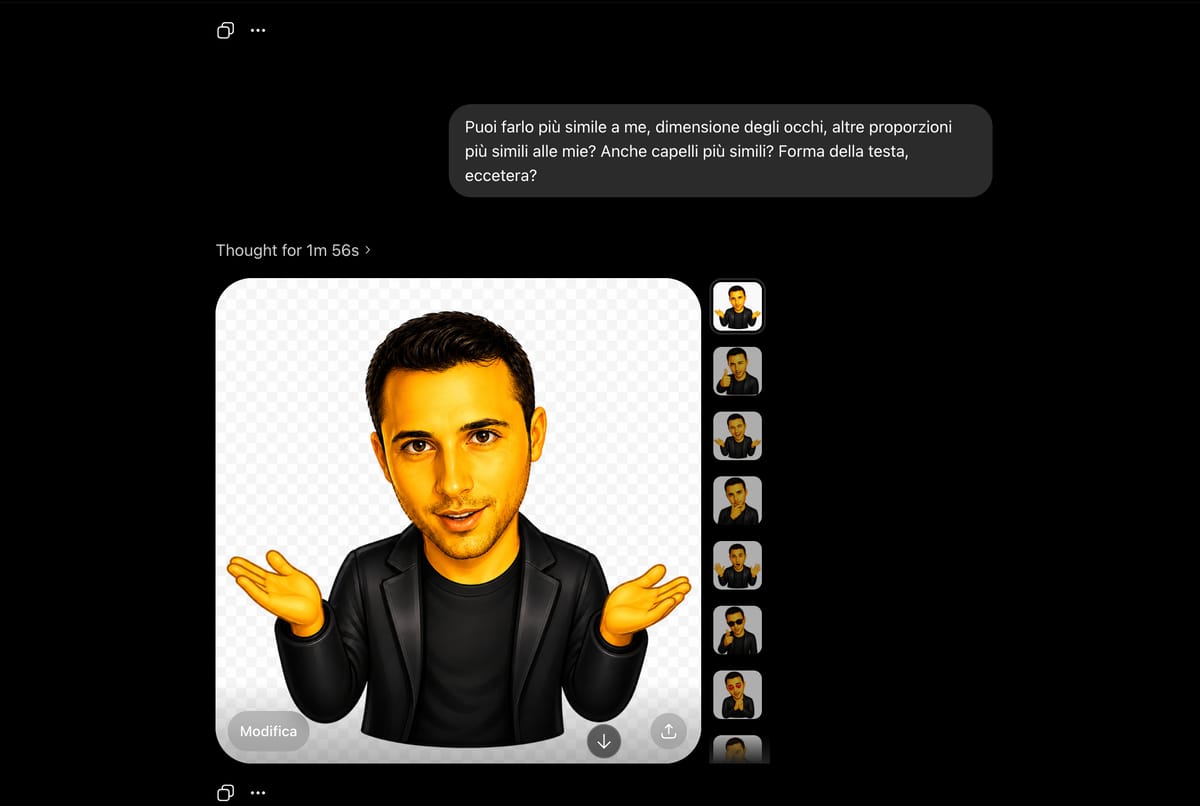
The most fun case: a sticker with your own face, ready for WhatsApp or Telegram. The secret is entirely in the starting photo and the prompt.
- 1
Upload a good photo
Front-facing, well-lit, with clear features: hair, eyes, face shape. The more readable the photo, the more faithful the emoji will be.
- 2
Generate the emoji
Use the prompt below and enter the expression you want. Ask for the glossy 3D style and a centered character.
- 3
Get true transparency
If the background is still there, ask for removal with Python, not a new generation. That's the step that creates the alpha channel.
Create a custom emoji based on the facial features
in the photo I uploaded.

Style: glossy 3D emoji, suitable for WhatsApp/Telegram stickers.
Keep the likeness: hair, beard, face shape,
eye proportions.
Expression: [e.g. ironic surprise].
Just the character, centered.

Output: PNG with a truly transparent background (real alpha channel).
If the generation isn't enough, remove the background with Python
(Advanced Data Analysis) and give me the PNG with an alpha channel.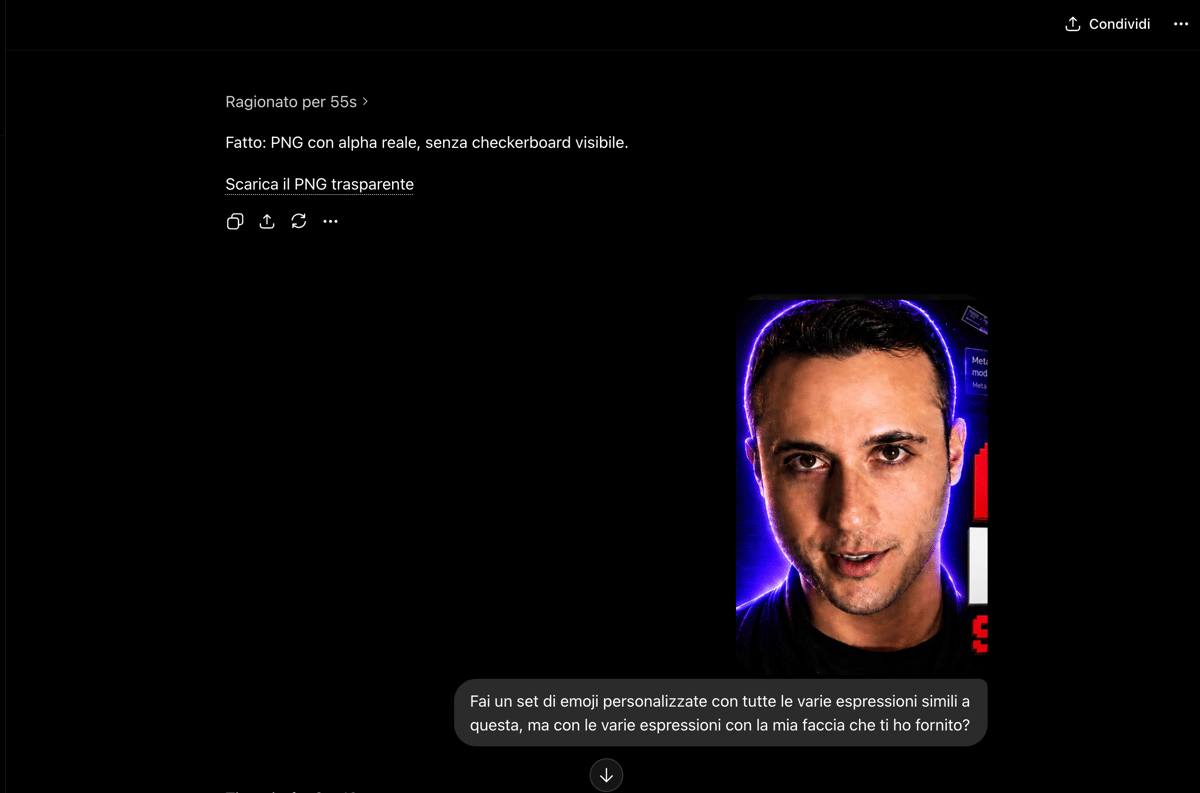
Check the file and the real limits
Don't trust ChatGPT's preview. Open the PNG in Canva, Figma, or Photoshop and place it over a colored background: if the subject stays clean and halo-free, the transparency is real.
There's just one rule to take home: keep image generation separate from technical post-production. When you keep them separate, the transparent PNG almost always lands on the first useful try.


