
Four steps, a couple of minutes
The decision was made in part 2: Next.js and shadcn/ui, assembled together by Create mode. Here you execute, and by the end you have a project running on your computer — created and started by Claude Code, without ever opening the terminal.
Do it as you read: it’s four steps, and in none of them do you write code. You don’t write the command — the Create page composes it for you, with your choices baked in — and you don’t even run it yourself: Claude Code executes it. The terminal stays closed.
1. Open the Create page
ui.shadcn.com/create — it’s the Create entry in the site’s top bar. What opens isn’t a form to fill in: it’s a live preview with the controls on the left — theme, colors, font, corner radius — and on the right a piece of a real application that changes as you touch the settings.
You can, and it’s fun. But PawSoul’s colors aren’t chosen by eye from this page: they come from the aesthetic direction decided with the client, and that’s the work of part 4. For now leave the theme as it is and grab the command.
2. Get Code: choose, don’t configure
Press Get Code and a panel opens above the preview. Three groups of choices, and that’s it: for PawSoul Template → Next.js, Base → Base UI, and leave the toggles as they are.
What «Base» is. The invisible engine underneath the components: it handles the keyboard, taps outside the panel, scroll locking — the cases that never happen on your computer and always happen on the client’s phone. The three options — Base UI, React Aria, Radix UI — do the same thing in different ways. Base UI is already selected: leave it that way.
The toggles. «Create a monorepo» and «Enable RTL support» are for projects you’re not building today. Leave them off.
At the bottom of the panel is Copy Command. You don’t write the command: your choices composed it, and that --preset with the code at the end is the theme you’re carrying with you.
3. Switch to Claude Code and pick the folder
You have the command on your clipboard, and you don’t open the terminal: Claude Code runs it for you. Open it, and before pasting, look at the chips at the top of its window: they say where it’s working.
Create the folder that will hold your projects, if you don’t already have one: any folder, call it projects. You don’t create the pawsoul folder yourself: the command creates it, inside this one.
Point Claude Code at it: from the folder chip choose projects. It’s the only control that matters — if the chip says something else, the project gets created somewhere else.
Now paste it. All you add to the command is the project’s name: the question «What is your project named?» comes up during install, and Claude Code answers it.
The command is the one you copied in step 2 — your «--preset» will carry your own theme’s code, not this one.
Run pnpm dlx shadcn@latest init --preset b313IbnLYe --template next and call the project pawsoul
From here you don’t touch anything for a couple of minutes. When it’s done, Claude Code sums up what got created: among the files is components/ui/button.tsx. That file is already yours — it’s the first piece of furniture, and from here on you change it by just asking.
4. Start the project and look at it
The pawsoul folder now exists inside projects. Ask Claude Code to go into it and start the project — no need to reopen it or navigate there by hand.
Go into the pawsoul folder, start the dev server, and tell me what address to open it at
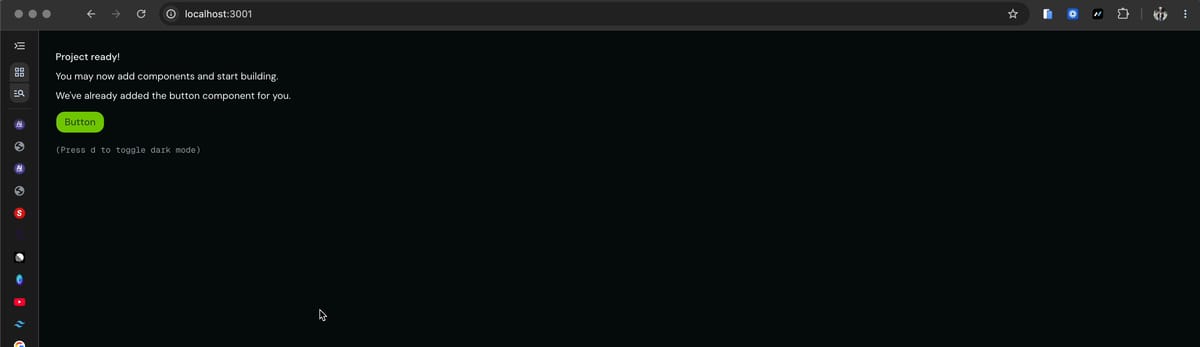
It answers with the address: localhost:3000, or 3001 if 3000 is already taken by something else, like here. Open it in the browser.
The four steps in a single line, without the theme — keep this one for next time.
Create the project foundations in this folder: run pnpm dlx shadcn@latest init --template next, call the project pawsoul, and leave Base UI as is. Then go into it and start the dev server. The foundations are there, but they’re still the stock ones: the button is green because that was the default theme, not because we chose it. In part 4 we give it taste: we choose the aesthetic direction and write it as instructions, instead of letting the agent decide.