What Clips is
Clips is a 100% free and open source alternative to Loom, built by Builder.io. The game-changing difference: an agent can understand a Clip starting from a plain URL. Every clip carries its own metadata, transcript and timestamped frames. The agent doesn't just read what you said: it also sees what you showed.
Clips is open source: if you'd rather keep everything in-house you can fork it and self-host it from the official GitHub repository.
Below is the full path, exactly as it is: from recording to the link ready for the agent. We'll do it all from the Chrome extension, the fastest way to record straight from the browser.
1. Sign up and connect your storage
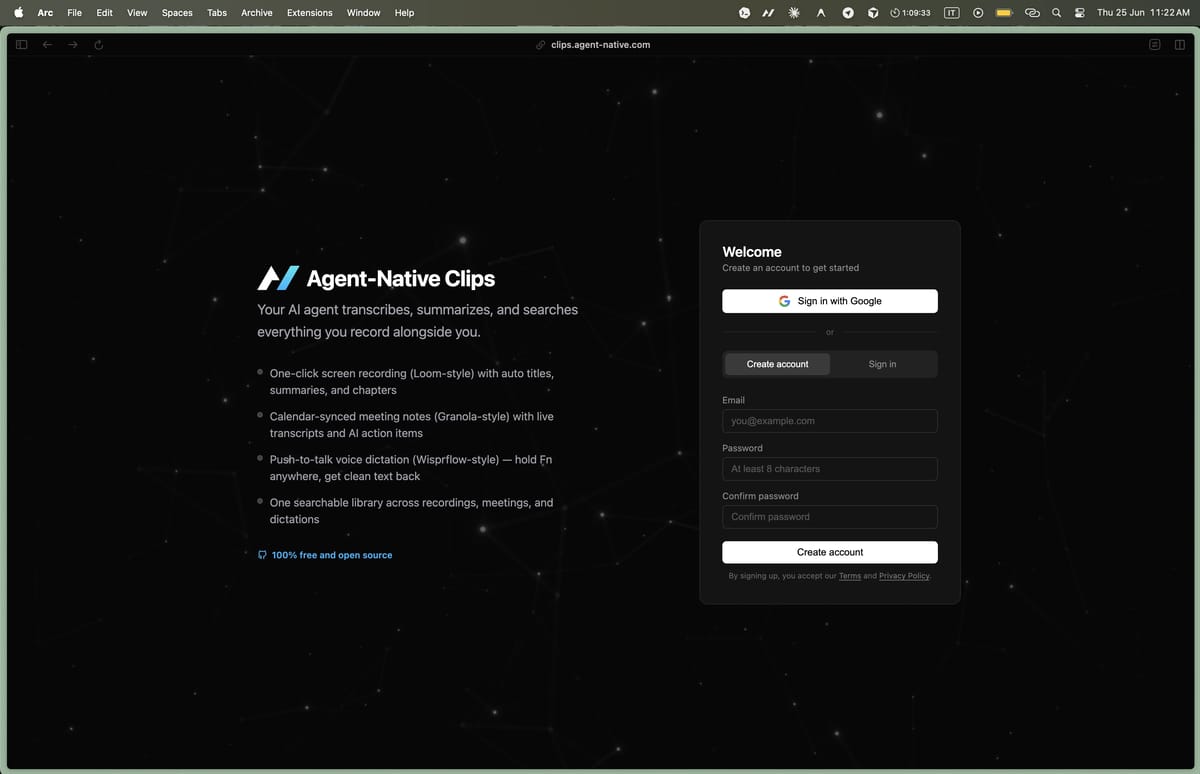
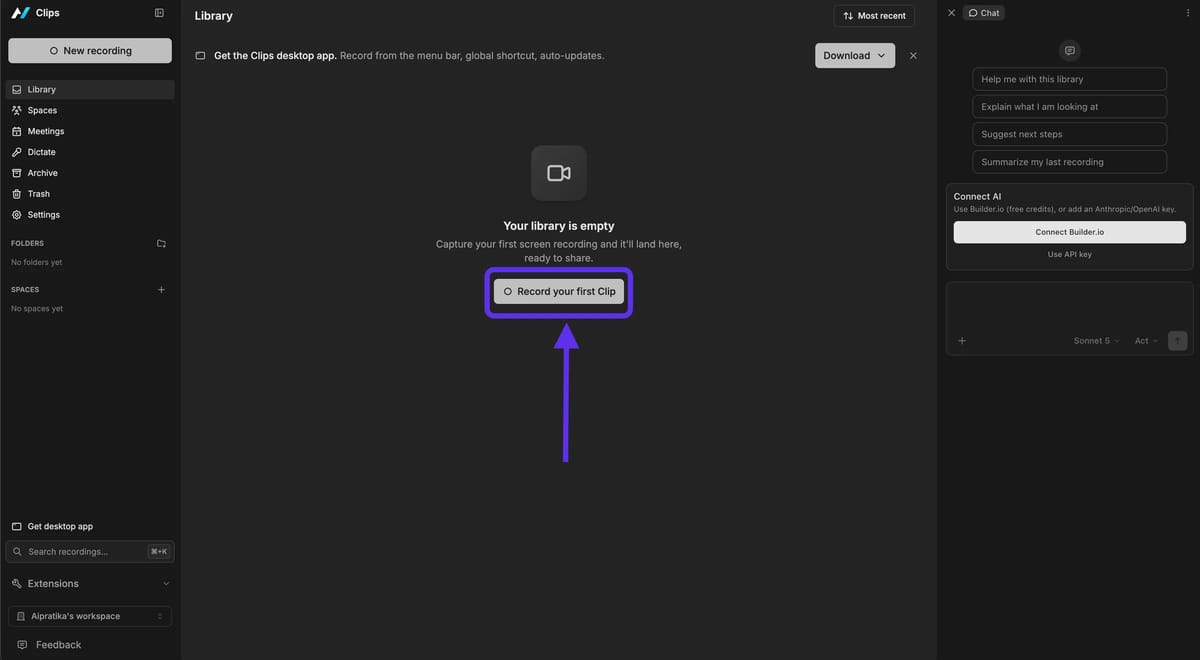
Go to clips.agent-native.com and sign up, with Google or via email. On the first screen the library is empty: press "Record your first Clip" to get started.
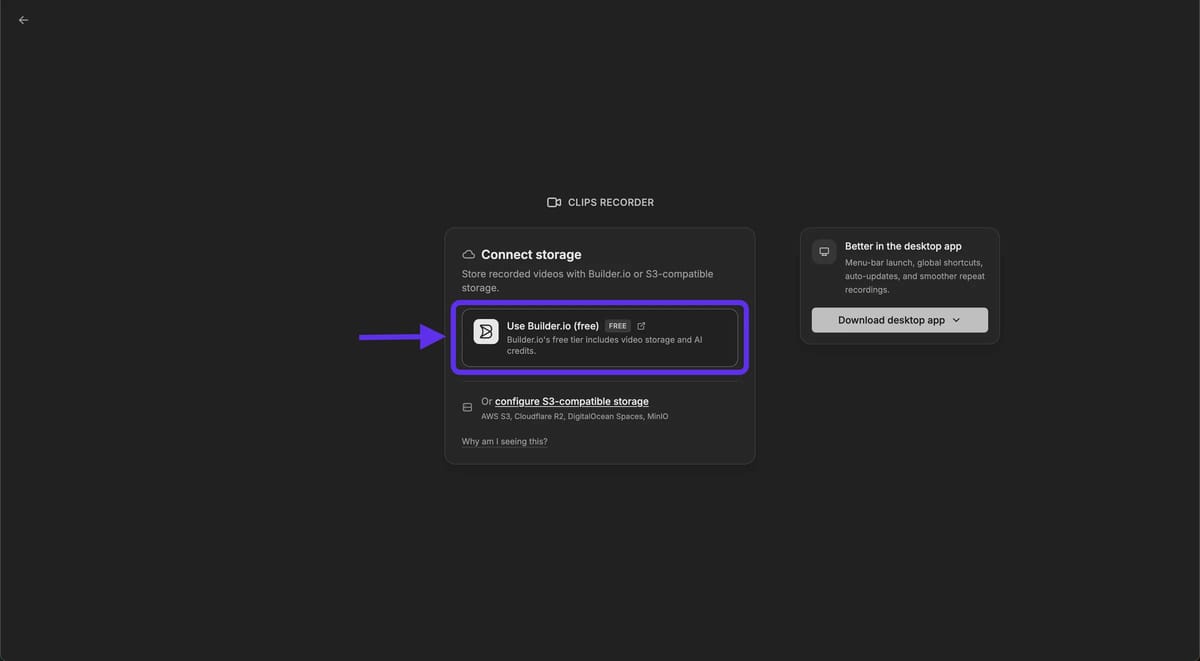
Before recording you need to connect a place to store your clips: the screen itself tells you so.
“Clips is 100% free and open source, so you need to hook up a way to store clips. Connect storage with Builder.io for free-tier storage and AI, or use S3-compatible object storage and your own LLM keys.”
To move fast we pick Builder.io's free storage: the free tier already includes video storage and AI credits. (You could connect S3-compatible storage and your own keys instead, but that's a whole different setup.)
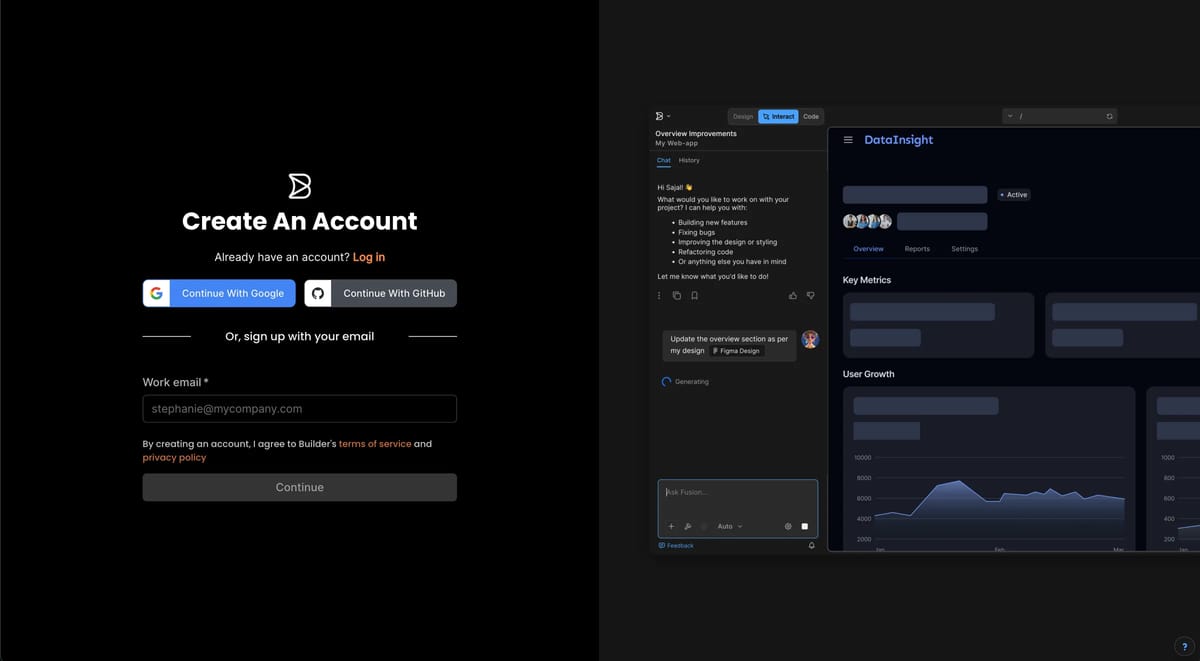
Builder.io asks you to create an account: go ahead with Google (or GitHub, or email).
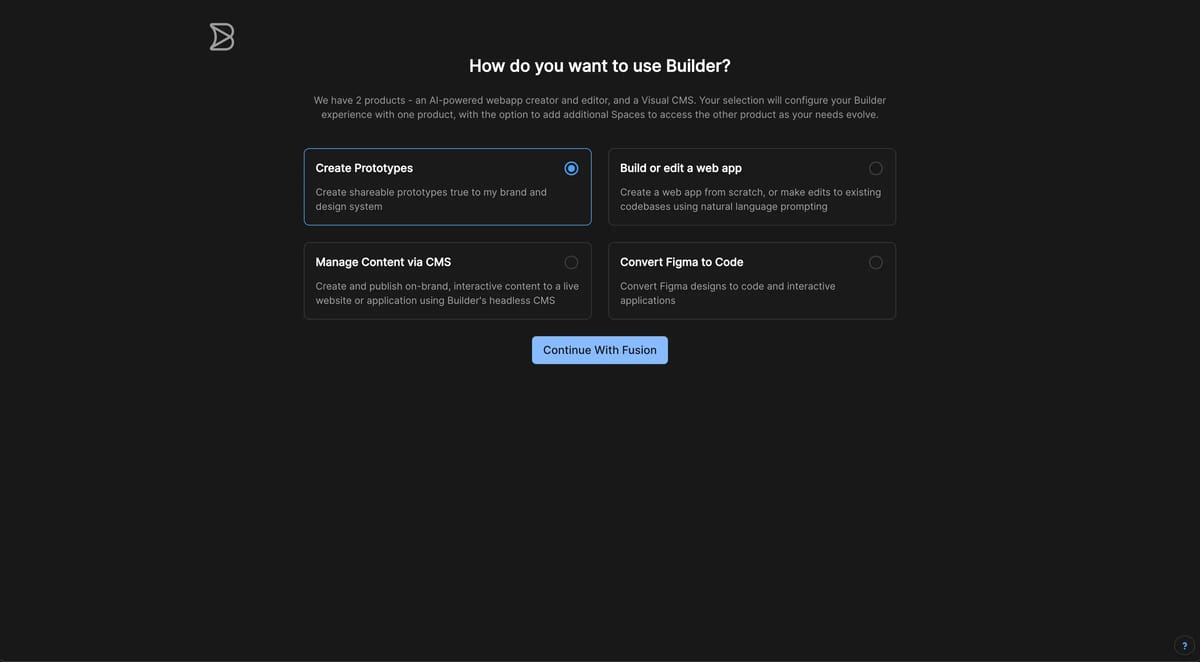
You go through a short onboarding — pick how you want to use Builder (for our case "Create Prototypes" works fine) and continue.
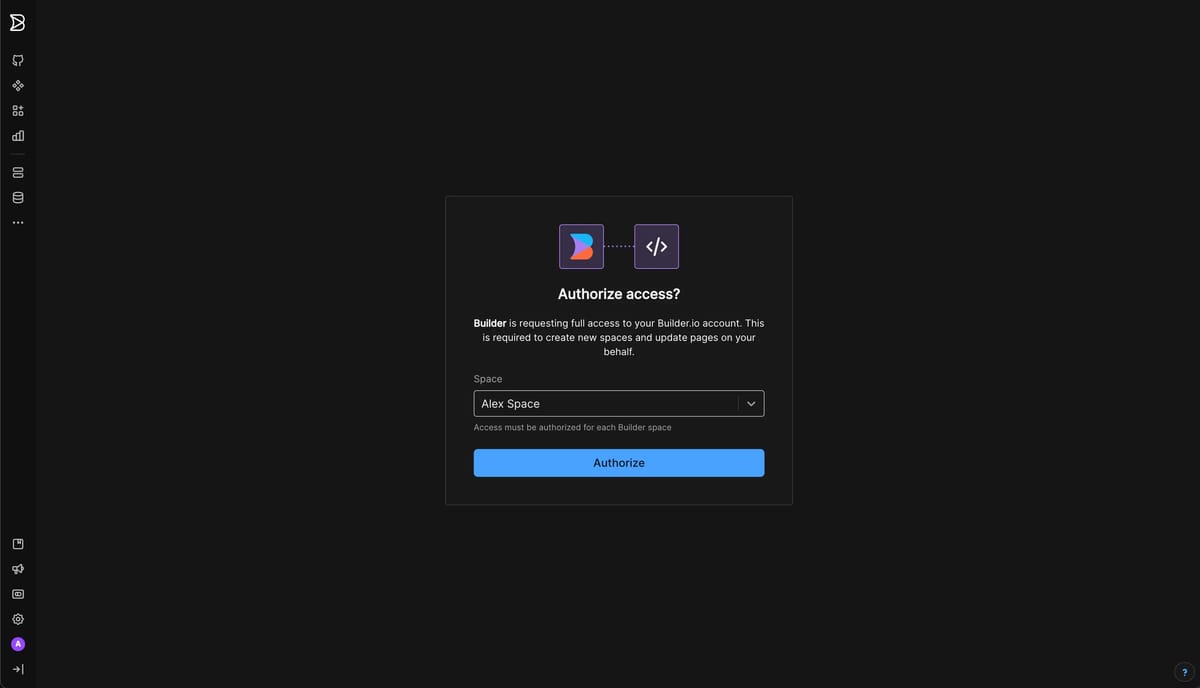
Finally you authorize access: Clips asks for permission to use your Builder.io space to store recordings.
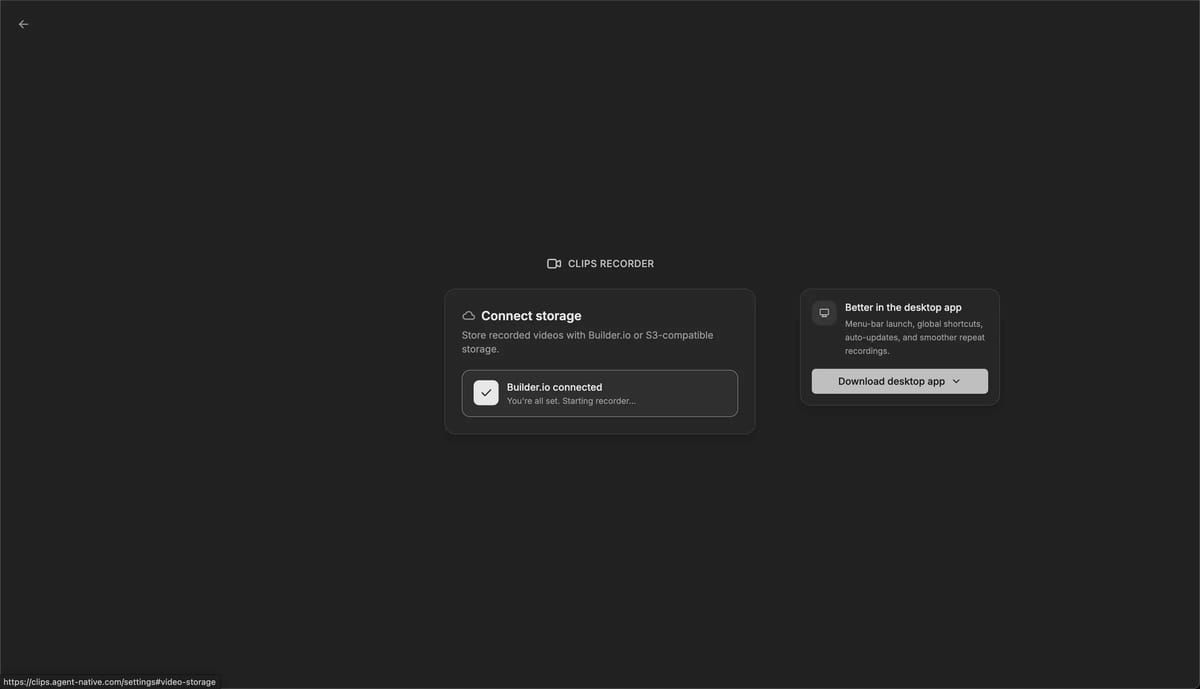
Done: you're redirected to clips.agent-native.com/record with storage connected and the recorder ready to go.
2. Install and configure the Chrome extension
You need a Chromium-based browser: Google Chrome, Arc, Brave or Edge. The extension isn't available on Firefox and Safari.
Careful: don't go straight to the store. Inside Clips, at the recorder selection step, click "Chrome extension": that's the link that opens the right page on the Chrome Web Store.
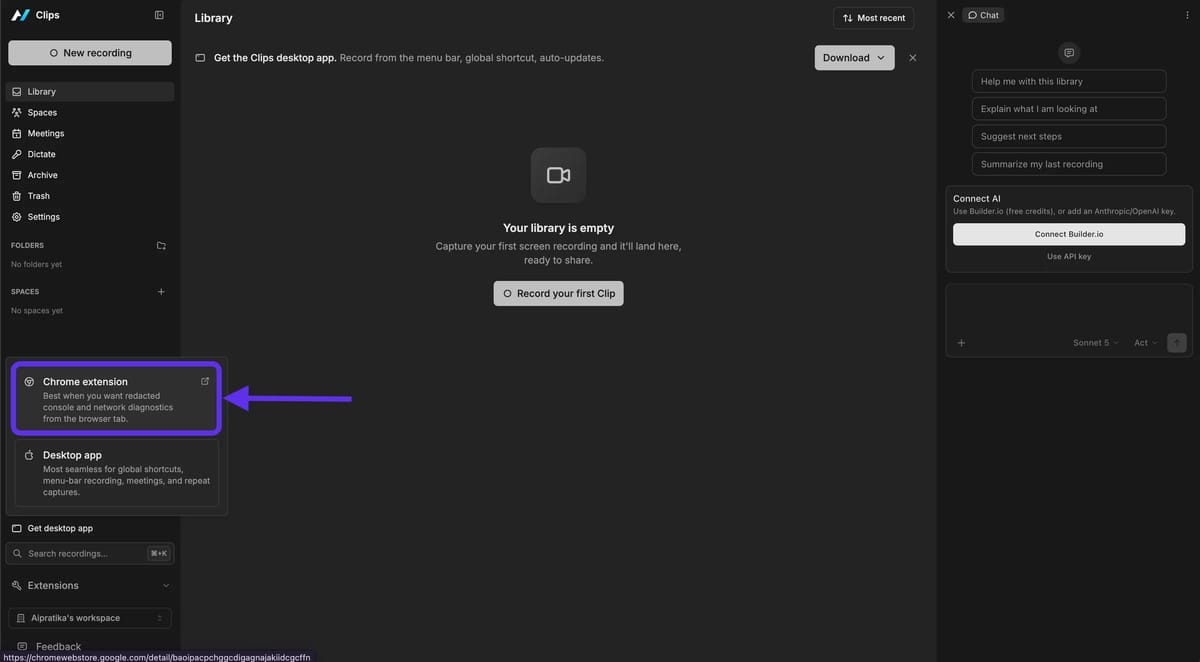
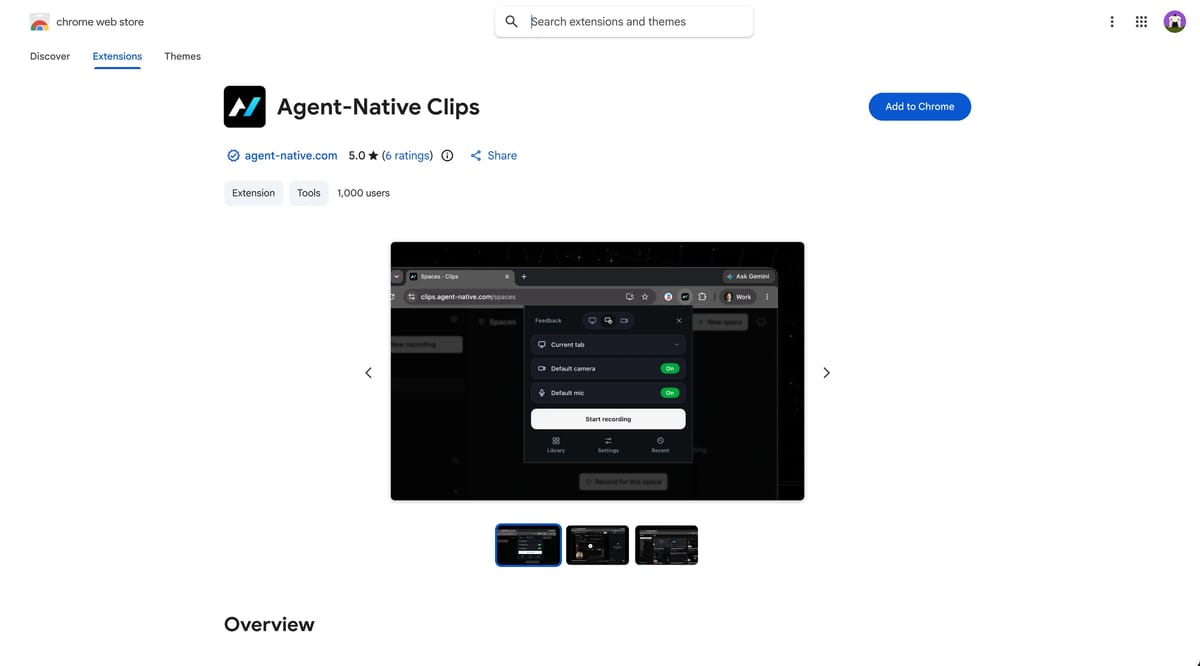
The Chrome Web Store opens: add the official "Agent-Native Clips" extension to Chrome.
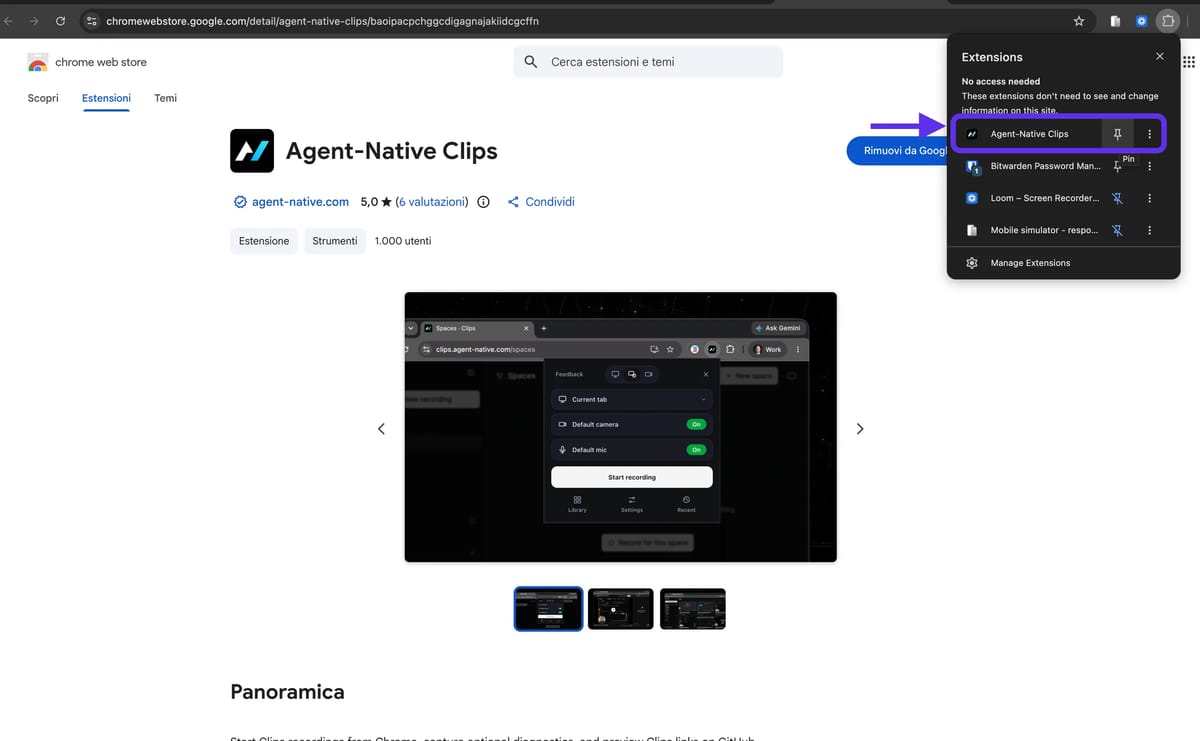
Pin the extension so the icon stays within reach in the Chrome toolbar.
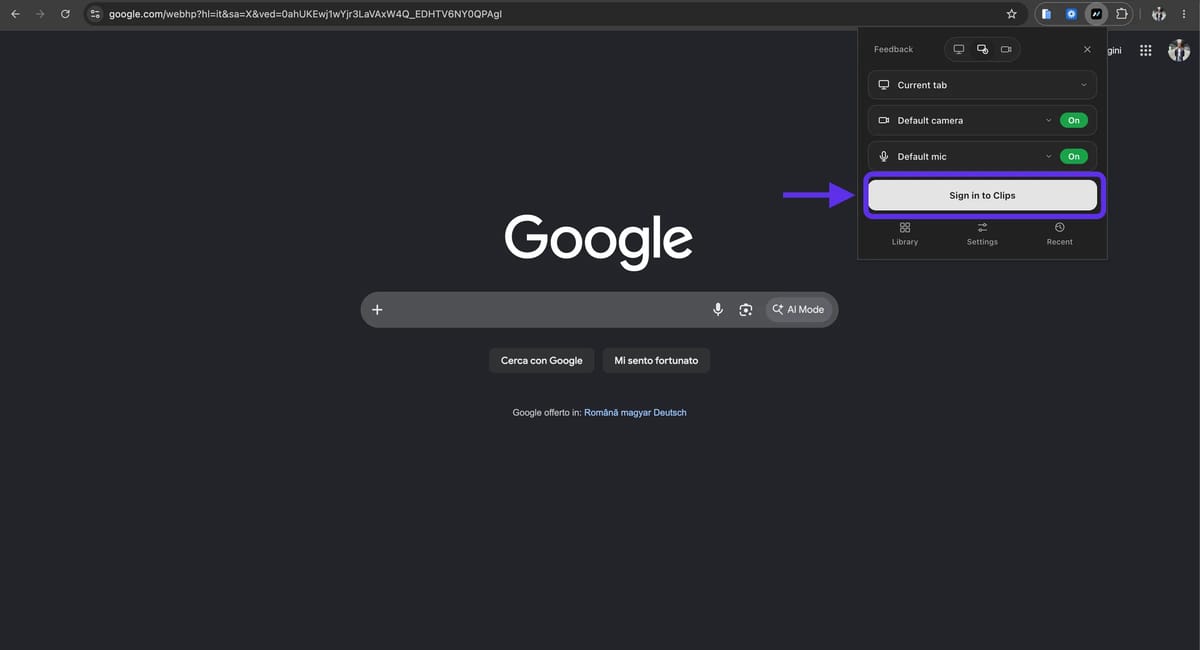
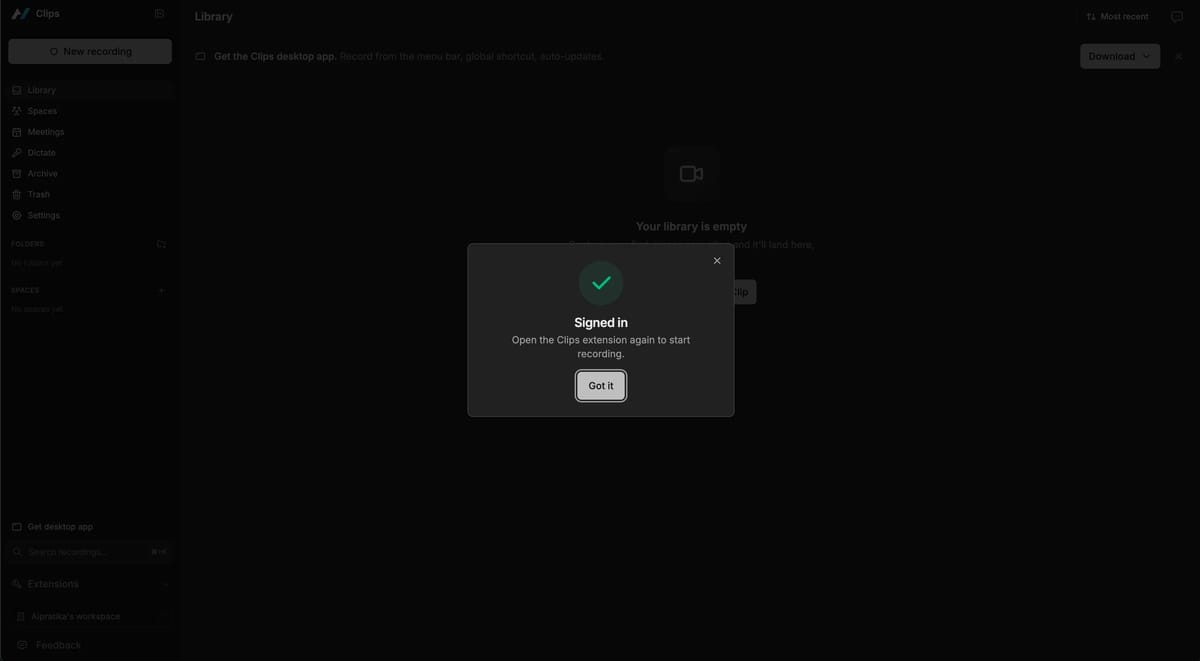
Now go back to Clips: click the extension's logo and hit "Sign in to Clips". Clips confirms access — you're already logged in from when you signed up — and then you're back in the extension.
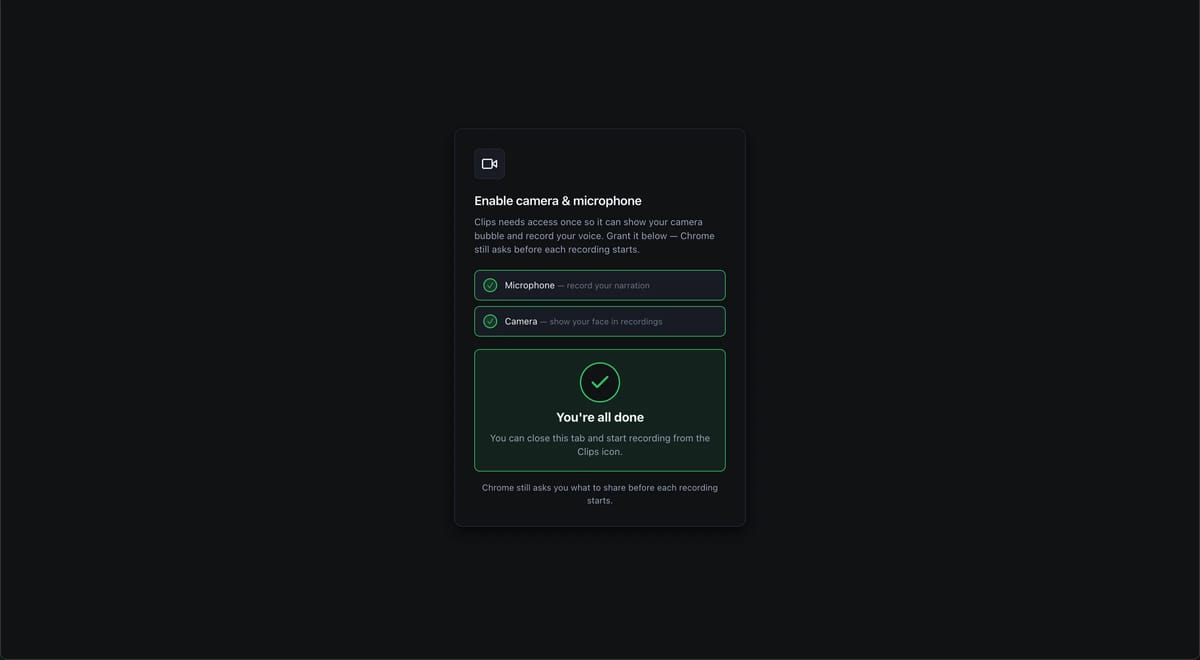
The first time, you grant microphone and camera permissions. It's a one-time consent: Chrome will still ask what to share every time you record.
3. The recording (this is where it all happens)
Open the extension and go. But careful, this is where you make the difference. A video is a sequence of images, and that's exactly what the agent accesses. The tighter you keep the content to what's strictly necessary, the smaller the agent's margin for error. Show only the screens that matter. No panoramic tours.
Record with a clear idea already in mind of what you want the agent to reproduce. Every extra screen is one more chance for it to miss the target.
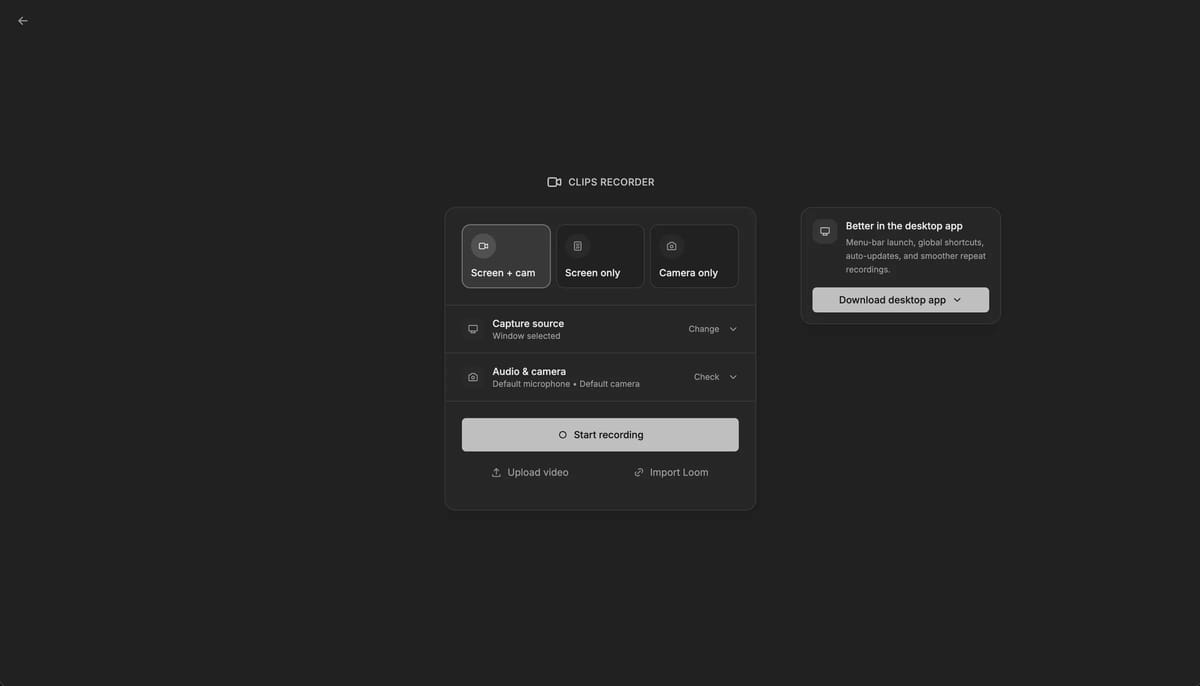
From the extension icon choose what to capture — screen + camera, screen only or camera only — and check source, microphone and camera before you start.
In my case I start right away with what I want to replicate: a linktree found on their official page. Then I switch to the AI Pratika site, to show the style of the reference platform. And while recording, I describe the problem out loud, in Italian: we tested it and it works.
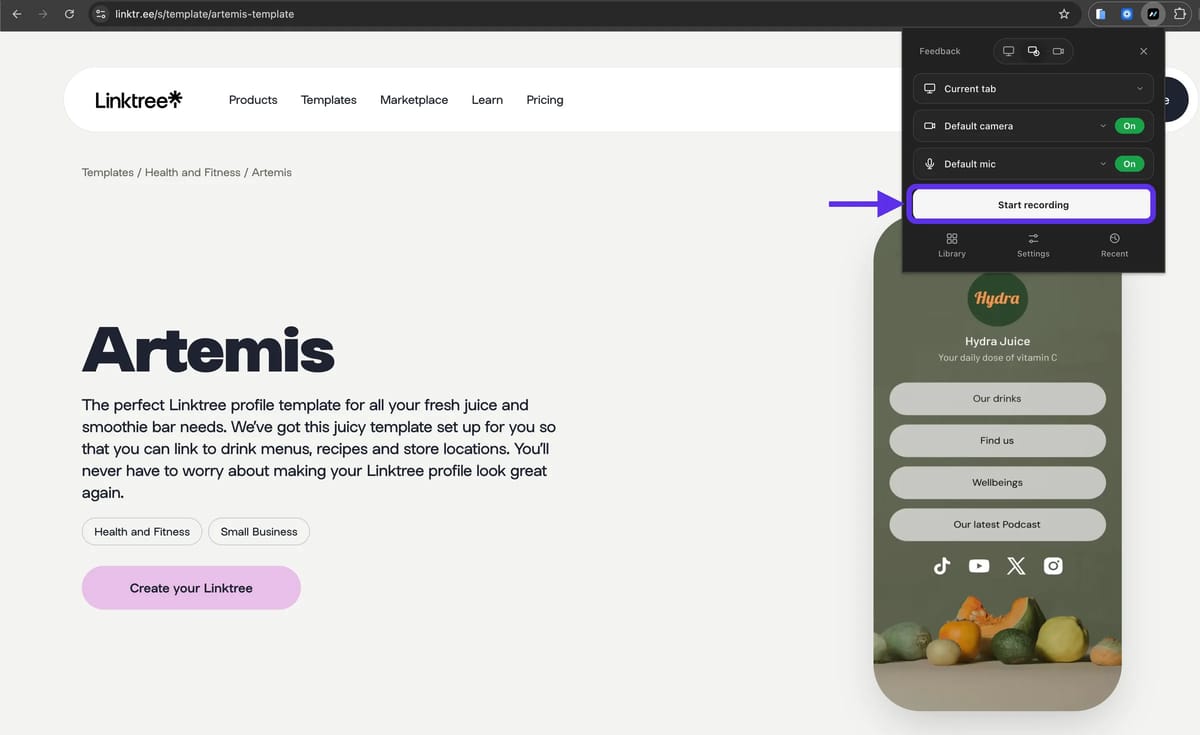
Open the site you want to replicate and press "Start recording" from the extension popup.
Chrome asks you what to share — a tab, a window or the whole screen — then you press Share.
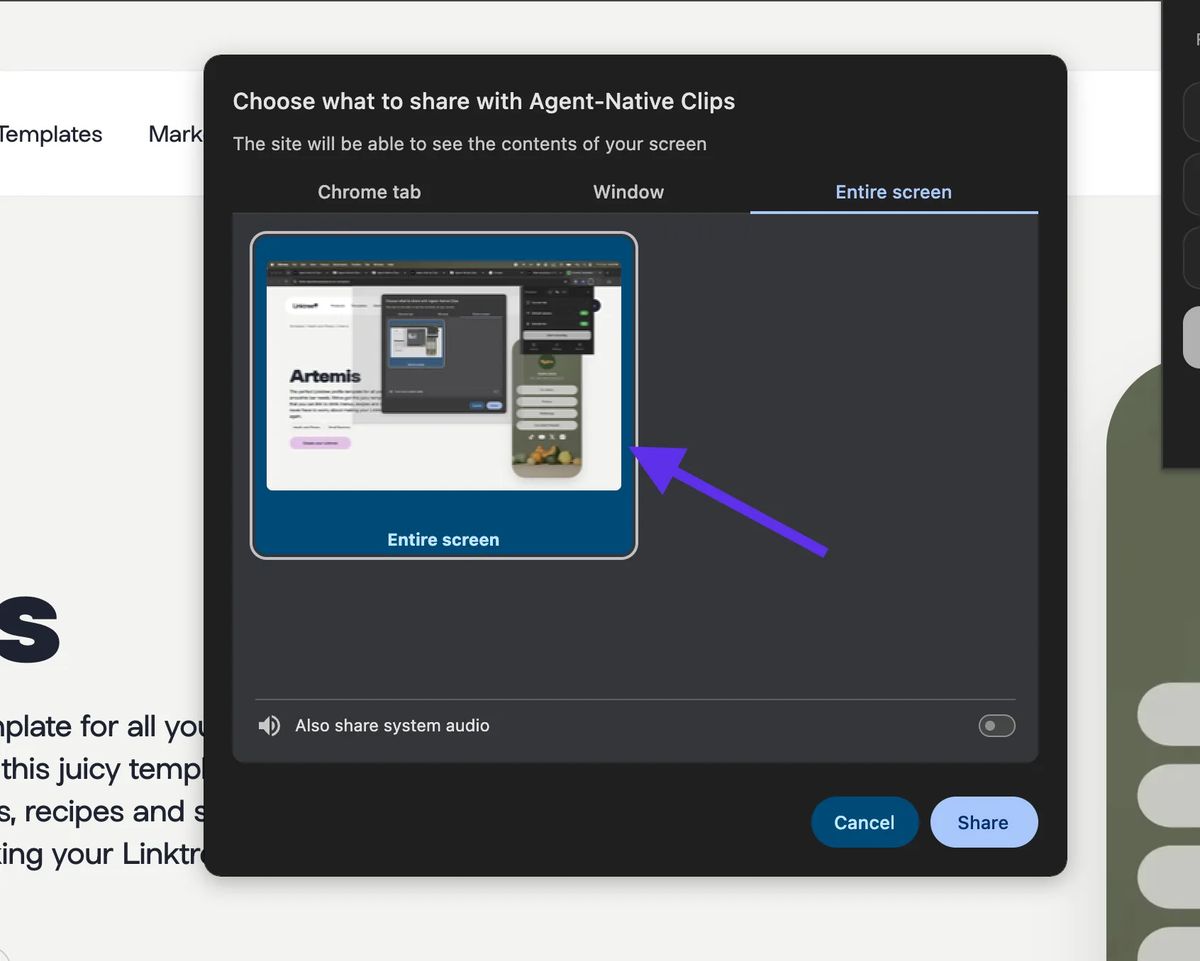
Recording starts: you see the REC indicator, the timer and the camera bubble. Record your 45 seconds, then stop.
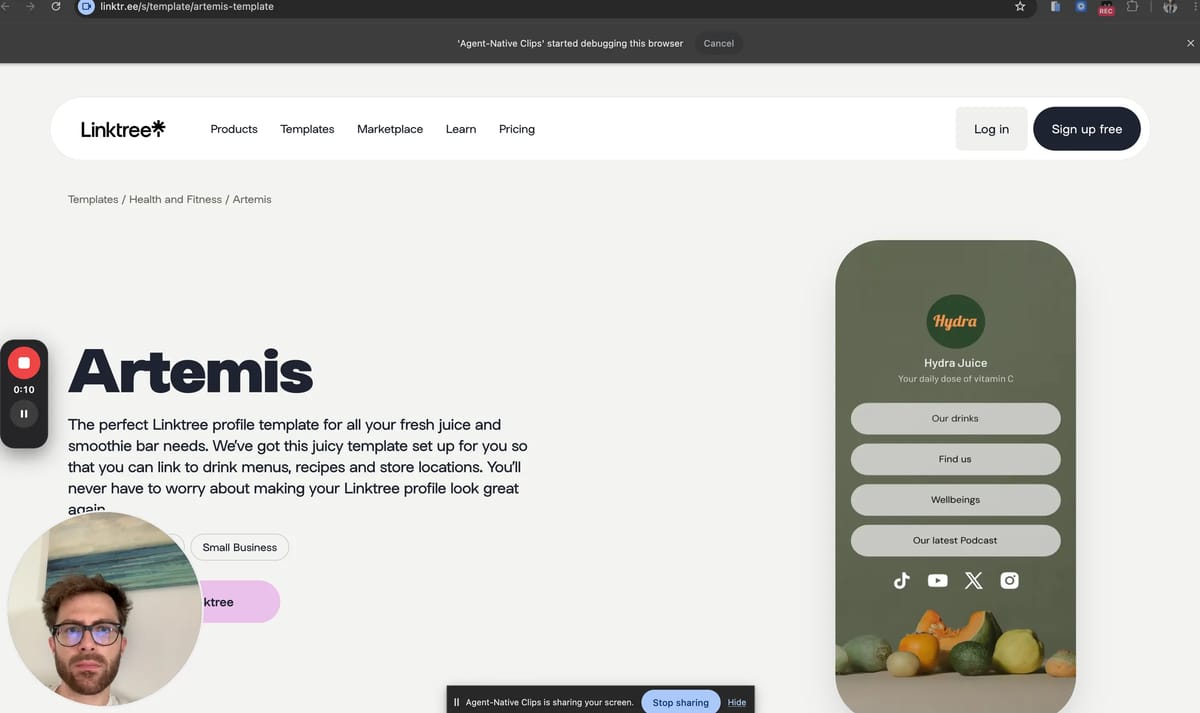
Here's how mine went, with the voice explanation of what I want to achieve.
4. Generating the link
Once you're done recording, you wait a few minutes for the video to process: Clips is generating the transcript and frames that the agent will later read.
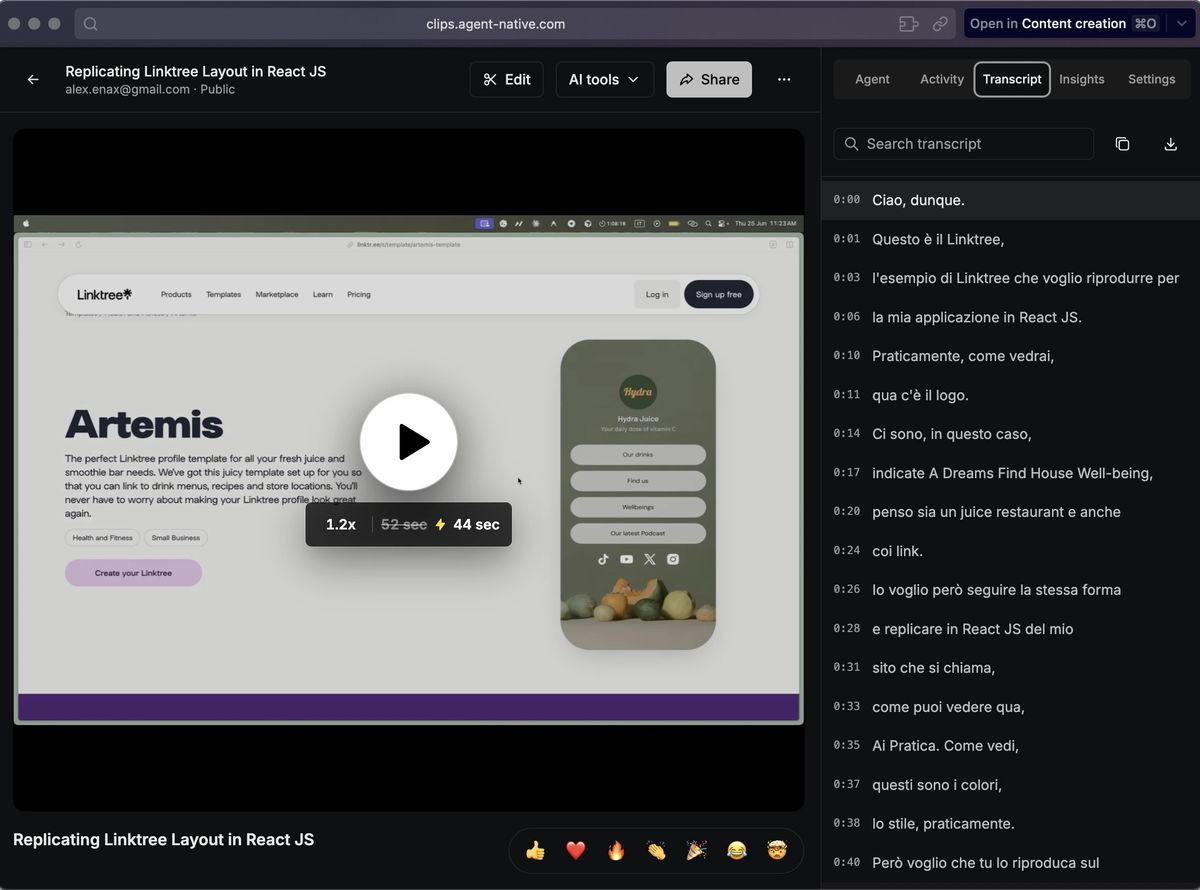
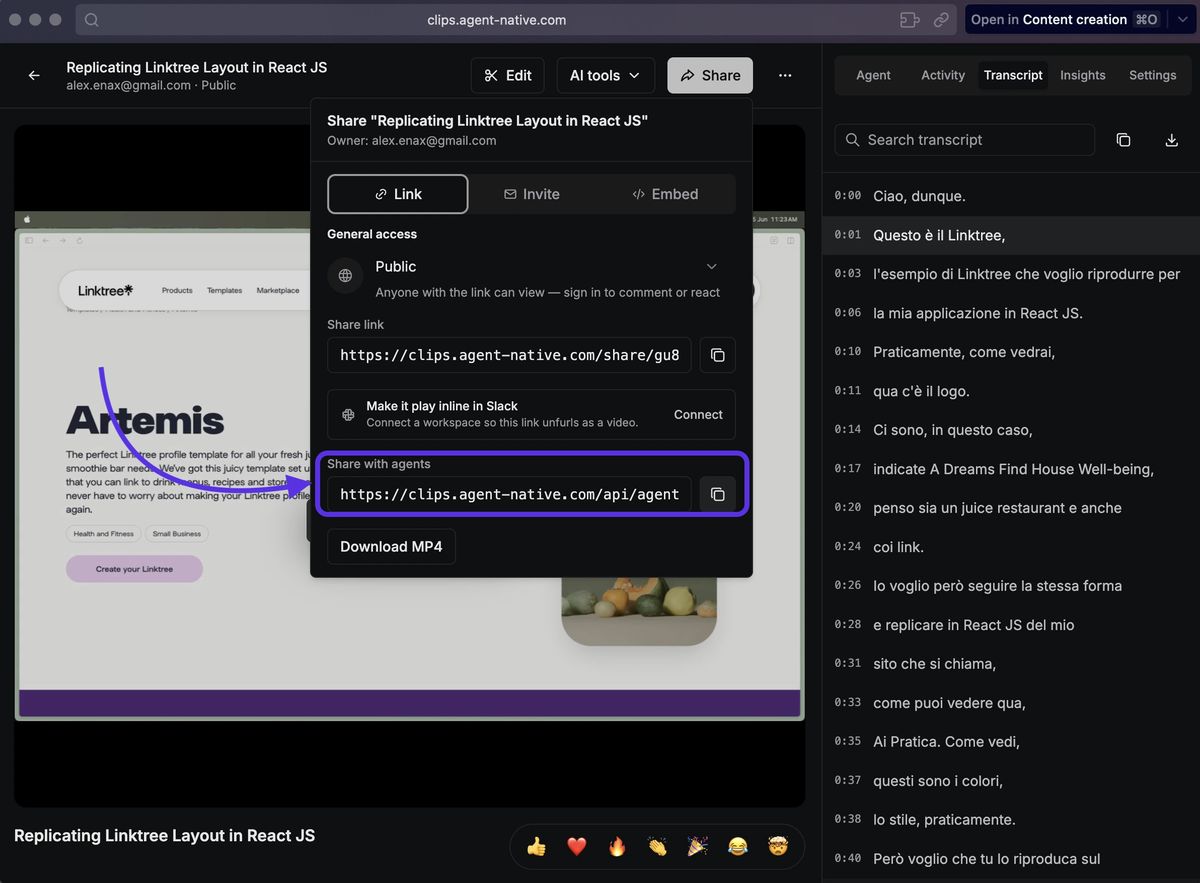
At that point you have two sharing options. The first is the classic link for a person. But the one we care about is the second: the link to share with an agent.
That second link is the heart of it all. It contains the context for the agent: the video's metadata, the link to the transcript and the frames. It's exactly what Loom was missing.